Showing posts with label roasted. Show all posts

Wednesday, June 10, 2015

Cooking meat

It's not as scary as it seems!

Last week I roasted a chicken and made steak with a friend. Success!

My first meal, though, of course, was just lentils and brown rice. Healthy, cheap, and comfortable. The apartment I'm in for the summer has a pressure/slow/rice cooker combo that made cooking the rice quick and easy, and I put some curry powder in the lentils.


It was tasty. But, the main thing is: I'm learning to cook meat. And to be clear, I'm not a vegetarian. I'm just a college kid who hasn't done much other than baking, and now I'm learning to cook. Including things other than eggs and pasta and breakfast for dinner and lentils and rice.


This recipe for roast chicken comes from Twelve Recipes, a lovely book which is really not 12 recipes but rather the usual 12 chapters of recipe categories. The way it's put together, though, makes you feel empowered to cook the way seasoned cooks do--feeling, tasting, improvising, and taking it easy. This is contrary to the measuring, exacting process of baking recipes.

The recipe isn't even written out in steps...it's all paragraphs, making the book an excellent dinner companion for easy reading.

A little dessert in a little bowl...white peaches are prime.
Like most roast chicken recipes, it calls for liberally salting and peppering, then slathering the chicken with olive oil and just popping it in the oven. Unlike most roast chicken recipes, the oven is unusually hot: 450 degrees F. So get ready for popping and sizzling!

Left: crispy, delicious skin. Right: flabby, not crispy skin. Guess which one I ate and which one was compost?
I used a rather small pan, which meant that the chicken sat in its juices a bit and the skin lower down didn't get as crisped up. Using a bigger pan would help with that (and you can also put potatoes, garlic, vegetables, etc. in there 15 minutes into the cooking process if you want to roast up a whole dinner). But man were those legs awesome. So crispy and caramelized and Maillard reaction-y. The chicken also took an extra half hour longer than the recipe stated, so either my oven isn't hot, the chicken was too cold (still frozen?), or it just needed extra time.


Without further ado, a not-recipe recipe. I think one of the most valuable components of the recipe was instructions on how to carve the chicken, so I've included those too.

Dinner Bell Chicken

Ingredients:

  • 1 chicken (3-4 lbs)
  • olive oil
  • salt and pepper
  • fresh rosemary is nice if you have it!
Method:


  1. Preheat oven to 450 degrees (and give it plenty of time to get hot). Stick a baking sheet under the rack where you're going to put the chicken to catch drips. Thaw the chicken if it's not thawed, and take out the gizzards and innards.
  2. Put the chicken in a baking dish and liberally salt and pepper all sides (and in the cavity). Rub all over with olive oil.
  3. Tuck the wings back behind the neck, and tie the legs together if you have string. Sometimes my dad can poke a hole in the skin of one leg and put the other leg through it, which is a neat trick.
  4. Roast for a long time! Check at 45 minutes, but mine took well over an hour. You can tell it's done when you can easily twist a leg-the bone should move independent of the meat. Another way to check is to cut in between the thigh and the body and wait until the juices run clear. 
  5. To cut the bird up, first cut off the leg and thigh on each side, then the breasts and wings. Or watch a video if it's your first time.
  6. Eat hot, shred the extra and put it in the fridge for chicken salad, casseroles, and leftovers.
Bonus: my friend also cooked steak the next night (with potatoes and roasted red peppers, under the broiler). Here's the results...they were absurdly delicious.


Friday, November 23, 2012

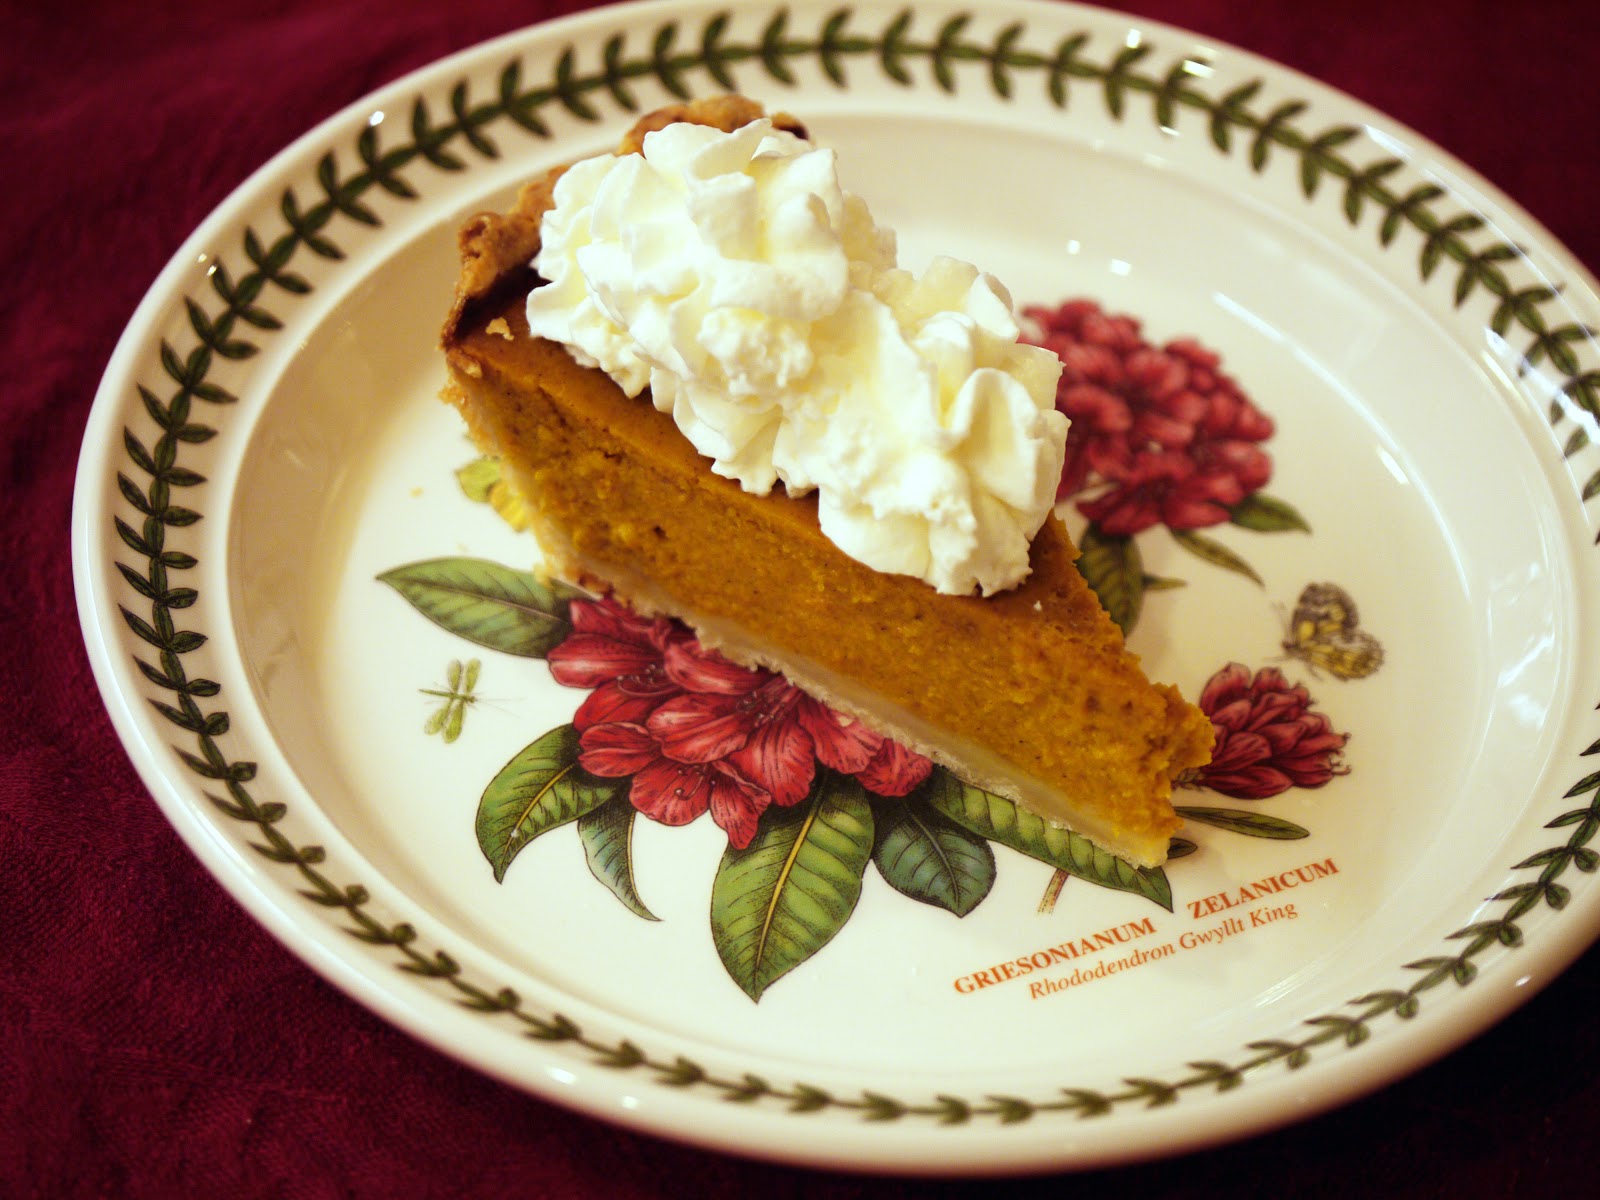
Homemade Pumpkin Pie

So much pumpkin.


My mom, though usually generous with compliments on things I make, proclaimed this the best pumpkin pie she had ever eaten.

Let's start at the very beginning
A very good place to start.
When you read you begin with ABC,
When you bake you begin with 
Butter Eggs, Flour

Ok, so that's not how the song goes. This particular song of a recipe begins with pumpkins. 


Real. Pumpkins. Tear off the stem, halve 'em, scoop out the guts (save them!!), and then quarter. Straight onto a baking sheet and roast.

Boom, roasted.

Chunks of tender pumpkin flesh are scooped out of their skins and beaten to a pulp in a food processor. It's not violent in the least. 

The resultant puree is so purely pumpkin and so gosh dang fresh it's ridiculous. Note that smaller pumpkins are better for making pie with (the ones you carve for Halloween, not so much. The Pioneer Woman, whose recipe this is, has great pictures to give you an idea of how big the pumpkins should be).

And because we can, and we should, we will use those pumpkin seeds! Rinse and pull off the pulpy bits, not taking too much care because time is money, and then let them dry on a baking sheet lined with foil. 


I stuck them in my cooling down oven from roasting the pumpkin to speed up the drying.

Roasted with olive oil and salt, these are an excellent snack.


Because I wanted to make pumpkin pie entirely homemade, I also made crust, with guidance from my dad, the king of pie. He taught me how to let those chunks of shortening be.

Just let it be. There will be huge chunks of fat. That makes it flaky and wonderful...let it be.

The last component, the filling, comes from a family recipe handed down from my cousins. It's moussier and lighter than the recipe on the back of a can of pumpkin.

The homemade crust and puree really elevated this pie. It's nothing fancy looking, but the flavor and texture are unbeatable. Butchering three innocent pumpkins is worth it for fresh, punchy aroma.


Homemade Pumpkin Pie
Yield: 1 12-inch pie

Pumpkin Puree:
Follow Pioneer Woman's tutorial on how to make homemade pumpkin puree!
(you can freeze extra or make granola!)

Crust: (makes two crusts, you'll only need one)
Ingredients:
1 1/2 cups (12 1/2 ounces) all-purpose flour 
2 tablespoons sugar
1 teaspoon salt
12 tablespoons unsalted butter, cut into 1/4-inch pieces and chilled
8 tablespoons vegetable shortening,cut into 8 pieces and chilled
1/4 cup vodka, chilled
1/4 cup ice water

Method:
  1. Process 1 1/2 cups flour, sugar, and salt together in food processor until combined, about 5 seconds. Scatter butter and shortening over top and continue to process until incorporated and mixture begins to form uneven clumps with no remaining floury bits, about 15 seconds.
  2. Scrape down bowl and redistribute dough evenly around processor blade. Sprinkle remaining 1 cup flour over dough and pulse until mixture has broken up into pieces and is evenly distributed around bowl, 4 to 6 pulses.
  3. Transfer mixture to large bowl. Sprinkle vodka and ice water over mixture. Stir and press together, using stiff rubber spatula, until dough sticks together.
  4. Divide dough into 2 even pieces. Turn each piece of dough onto sheet of plastic wrap and flatten each into 4-inch disk. Wrap each piece tightly in plastic and refrigerate for 1 hour. Before rolling dough out, let it sit on counter to soften slightly, about 10 minutes. (Dough can be wrapped tightly in plastic and refrigerated for up to 2 days or frozen for up to 1 month. If frozen, let dough thaw completely on counter before rolling it out.)

To make the pie:
Ingredients:
3 eggs
1/2 cup (3.5 ounces) granulated sugar
1/2 cup (3.5 ounces) brown sugar
1 can (12 ounces) evaporated milk (the only non-homemade thing in this pie)
15 ounces pumpkin puree
1/8 teaspoon salt
2 teaspoons pumpkin pie spice (=1 tsp cinnamon, 1/2 tsp ginger, 1/4 tsp each allspice, cloves, nutmeg)

Method:
  1. Roll out 1 pie crust to fit in 12 inch pie plate and press in. Bake at 400 degrees with pie weights for 8 minutes, then take out the pie weights and bake another 2 minutes. Set aside.
  2. For the filling: Beat eggs first to break up yolk. Then, whisk all ingredients.
  3. Pour in prebaked pie crust and bake at 350 for 1 hour or until done. Start checking at 50 minutes; the pie should be set mostly but the center will still jiggle a bit.
  4. Cool on baking rack.
  5. Serve at room temperature or refrigerated! (This pie is just as good, if not better, the day after it's made).
P.S. When you're making pie crust, you might as well make two crusts. Although you only need one to make this pie, why not make two pies? Another recipe is a-comin' (see the first picture of this post for a sneak peak!). Or freeze and make another pumpkin pie a couple of weeks later!